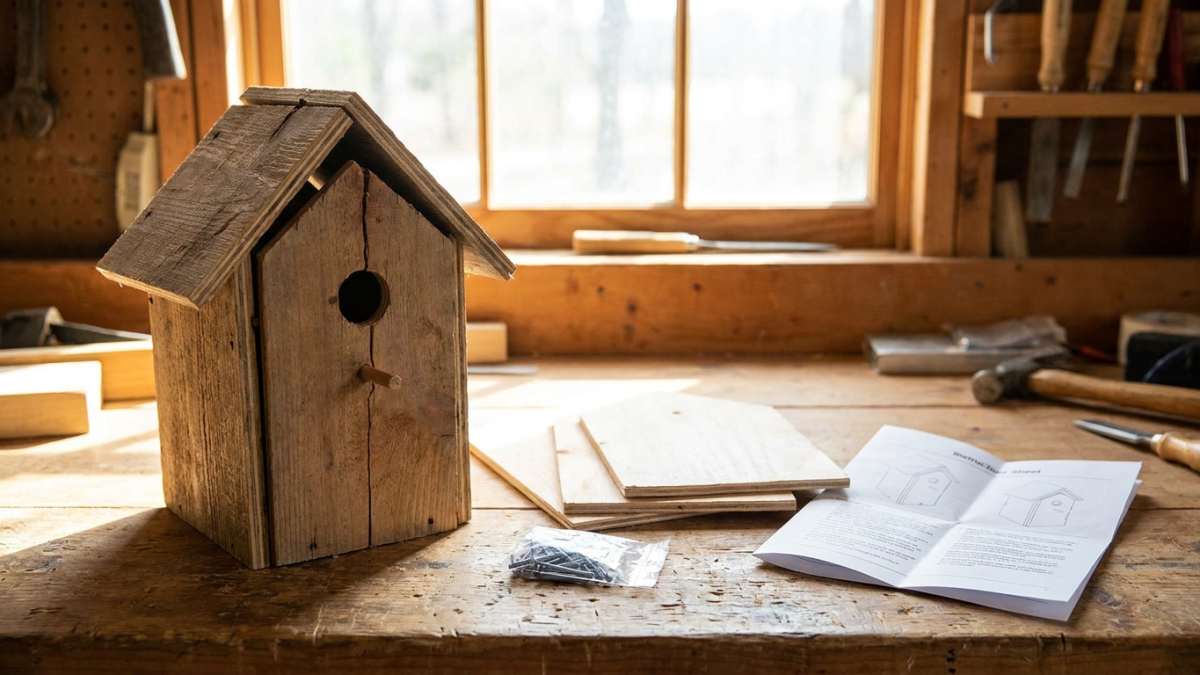
Most cheap bird house kits fail before a bird ever sees them: thin plywood walls, a hole sized for the picture on the box rather than the bird, and no drainage or ventilation at all. A kit can still be a fine weekend project, but only if you know which corners the manufacturer cut and fix them before the box goes up.
Hole size decides the tenant
Many budget kits punch a generic 1.5 inch entrance and print “bluebird” on the lid, when that same hole also admits house sparrows and wrens that evict the birds you wanted. Check the exact diameter against the hole size each species requires before you glue anything, because there is no fixing it after assembly.
The perch problem
Decorative perches look charming on the retail shelf and work as a landing platform for squirrels and predatory birds. Native cavity nesters do not need a perch to enter a box. Snap it off or pick a kit without one, and the box gets safer the moment you do.
Wood, drainage, and the roof
At street price, the budget kits use quarter-inch plywood, which warps within a season of rain and insulates almost nothing during a cold snap. Look for cedar or at least half-inch stock, drainage gaps cut into the floor corners, ventilation gaps under the roofline, and an overhang deep enough to keep rain off the entrance. Interior finish matters as much: a slick painted wall gives fledglings nothing to grip when they climb toward the hole, so roughen smooth panels with coarse sandpaper before assembly.
What a good kit includes
Cedar panels, species-correct hole options, no perch, drainage holes, and a side or front that opens for cleaning. If your kit checks those boxes, assembly is the only work left, and the finished box should match the dimensions each species actually occupies. Bluebird hopefuls should compare against our exact bluebird house plans before hanging, because kit mistakes are easiest to spot against a known-good spec.