A mealworm feeder is the fastest way to bring bluebirds into a yard, and most of them will not touch one unless the worms are visible, dry, and easy to grab. That makes feeder design and worm choice matter more than with any seed feeder you have owned.
The birds you are buying for are specific: Eastern Bluebirds, wrens, robins, chickadees, and the occasional mockingbird. Cardinals ignore mealworms entirely, and so do finches, so if those are your target birds, spend the money on seed instead. Our guide to attracting bluebirds to your backyard covers the full setup, but the feeder itself is the piece people get wrong.
Dried versus live, and the trade nobody mentions
Live mealworms move, and movement is what triggers insect-eating birds to investigate. Dried mealworms are dead still, so discovery takes longer and some birds never make the connection. Live worms also carry more moisture and fat, which matters in spring when adults are feeding nestlings.
Dried win on everything practical. They keep for months in a sealed container instead of two weeks in a fridge door, they cost roughly half as much per pound, and they cannot crawl out of the feeder and into your garage. Most people end up here: start with live worms to train the birds in, then switch to dried once bluebirds treat the feeder as a regular stop. The failure mode is assuming dried worms work from day one. If a feeder sits full and untouched for two weeks, it is not the feeder, it is the worms.
Keep them dry or lose them
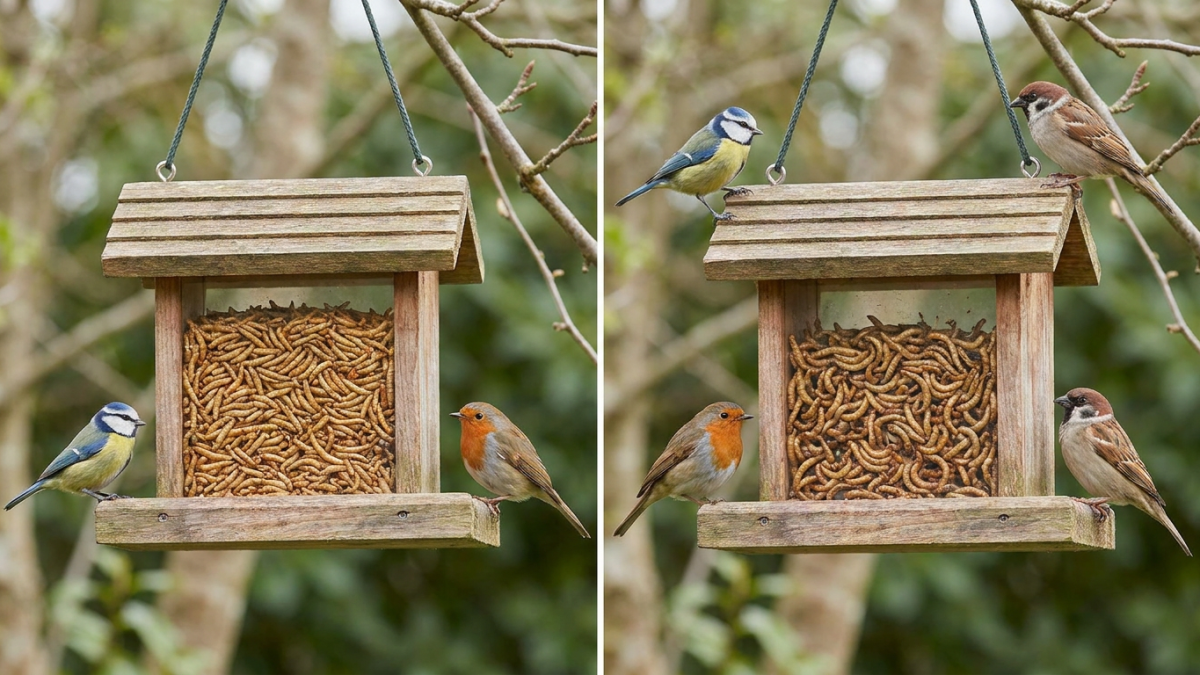
Mealworms turn to mush in rain, and dried worms that get wet can mold within a day, which is a health risk to the exact birds you are feeding. A good mealworm feeder has a roof and drainage, and the best designs are hopper-style trays where worms sit under cover. Open dishes sold as mealworm feeders are really just bowls and belong under an eave, not on a pole in the open yard.
Placement is the second half of keeping worms usable. Mount the feeder near a tree line or fence post, five to six feet up, so bluebirds have a perch to watch from before committing. The same height and cover logic applies to the rest of a feeding station, and we cover it in how high a feeder should sit and pole setup with baffles.
What to buy
For a first feeder, get a covered hopper tray with a roof and drainage gaps, mount it on a pole with a baffle, and budget one bag of dried worms plus a small cup of live ones for training. That combination covers most situations. Skip roofless mealworm dishes, and skip enclosed designs with small entry holes until bluebirds are already visiting, because those are built for established stations, not new ones.